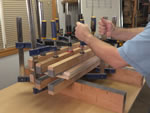
Chapter 3
Gluing Large Surfaces
with Clamps
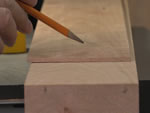
Chapter 5
Cutting Your Own
Veneer
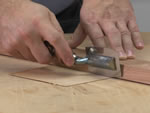
Chapter 7
Cutting and Taping
Commercial Veneer
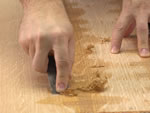
Chapter 9
Clean-up and Trimming
After Glue-up
Chapter 11
Dealing with Wavy
Veneers
Chapter 13
Veneering and Final
Trimming
Thoughts on
Woodworking
Part 2
Let the Wood Do the Talking
Instructional Woodworking
DVDs
Simple Vacuum Veneering
Author: Hendrik Varju
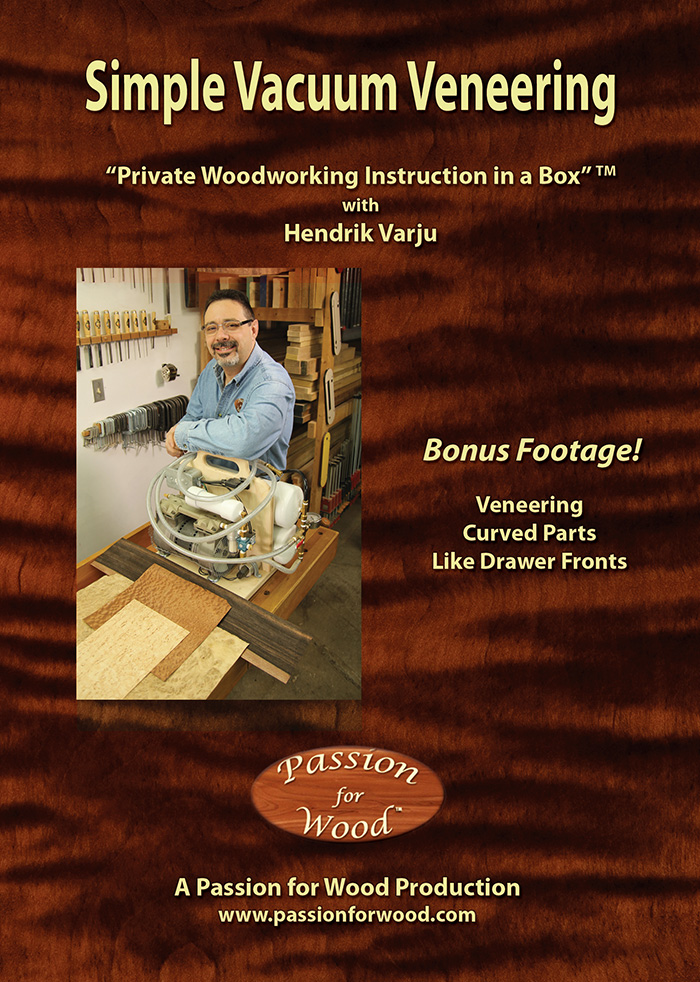
Hendrik Varju / Passion for Wood / August 2017
ISBN: 978-1-988901-01-5
9 hours, 20 minutes on 5 DVDs
Price: Cdn. $99.95 + applicable taxes
+ shipping and handling
Ontario residents pay 13% hst. Canadian residents outside of Ontario pay hst at their own province’s rate, or 5% gst if in a non-participating province. Residents outside of Canada pay no tax.
To view a clip of this DVD click the play button above.
The above video clip has been reduced in quality for online viewing. The real DVD product has a much higher resolution.
![]()
To download a PDF of this production’s
Table of Contents click here.
This document will make it easier for you to navigate the video.
The Table of Contents is already included inside the DVD case, but you can download a copy here if you’ve misplaced it.
In 2017 Hendrik released two new instructional DVD offerings, bringing the total to 20 titles. “Dowels, Splines and Mitres” is the second DVD newly released in 2017, but let us first hear about the long awaited production: “Simple Vacuum Veneering”, which is the last instalment in Hendrik’s monumental instructional woodworking DVD series.
Previous videos have covered machinery and tool skills, working with plywood, wood science and design, staining, finishing and more. They have also covered joinery methods such as mortise and tenon joinery, handcut dovetails, dowels, splines and mitres. But this time Hendrik ventures into an entirely new area of woodworking involving veneering with a vacuum bag and small vacuum pump. If you’ve ever wondered how to incorporate some of that highly figured wood into your projects, much of which is only available in veneer form, then this production is going to open your eyes to all of the possibilities, spread over nearly 9 1/2 hours on 5 disks. As is Hendrik’s usual style, this DVD set is a detailed step-by-step course – not the “usual” DVD fare that may have disappointed you in the past.
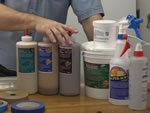
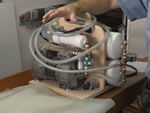
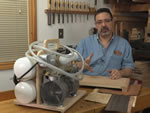
The DVD starts, by reviewing, in chapter 1, some of the basic equipment you will need to invest in to get into simple vacuum veneering. Then, in chapter 2, Hendrik introduces you to a modest vacuum system and how it all works, including the vacuum pump, vacuum bag, breather mesh, plattens and other equipment.
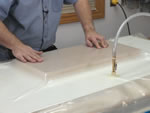
In chapter 3, Hendrik back tracks a little bit to show you how to veneer a small panel using nothing but clamps and cauls. This shows you that reliable veneering can be done by other methods as well, as Hendrik did for years before investing in a vacuum system. However, in chapter 4 Hendrik completes the exact same glue up using a vacuum pump and bag to show you how much easier, faster and more stress free it can be compared to having to apply a dozen clamps or more.
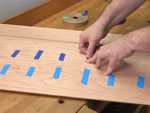
Once you’ve learned the basics of how a vacuum system works, of course you still have to learn how to work with the veneers themselves before you can even think about gluing them to a substrate. In chapter 5, Hendrik shows you how to make your own thicker veneers by resawing stock on the bandsaw. And chapter 6 shows you how to joint the edges of this thicker veneer, how to join them together with veneer tape and then slide it into the vacuum bag for final gluing.
In chapter 7, Hendrik takes you into the world of commercially made veneers, which gives you a far wider variety of species than you can work with on your own with a bandsaw. He shows you how to cut the veneers with a veneer saw and then joint the edges very accurately using a jointer machine as well as another method with a hand-held router. Then he takes you through the taping, ending in the final lay-up in the vacuum bag in chapter 8.
Chapter 9 focuses on what to do after the glue has dried, such as removing the veneer tape with water and a putty knife. He also shows you how to trim the final panel safely and accurately on the table saw.
Since you will often need to veneer not just faces, but edges as well, chapter 10 focuses on how to veneer edges using cauls and simple clamping methods. He also shows you how to remove the excess protruding veneer using a veneer saw, hand plane and sandpaper.
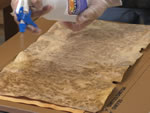
Chapter 11 focuses on wavy veneers and how to deal with them. Some highly figured veneers such as burls and “curly” varieties can have a tremendous amount of distortion, making it difficult to work with the veneer without breaking it. However, Hendrik shows you how to use a veneer softener to force the surface to co-operate with you as you cut it and glue it to a substrate.
As in all of Hendrik’s DVDs, this production is full of techniques he has been using and perfecting for many years. There is always a wonderful mix of theory, with sketches and full explanations, married with real-time demonstrations you can duplicate in your own workshop. This is the beauty of these multiple disk courses, which give you an absolutely enormous level of detail, but in a “live demonstration” format just not possible in a woodworking book or magazine article.
The most important aspect of this production, as with all the others, is Hendrik’s full demonstrations done in real time. He doesn’t assume prior knowledge, so even a beginner will be able to follow along the journey. Yet he has a knack for covering the basics while simultaneously delving into super fine points an amateur is unlikely to even consider for many years. The incredibly valuable lesson in all this is that Hendrik never just touches on the basics, but goes deeper, giving you a level of understanding of how to dial in accuracy on that last one one-thousandth of an inch. In fine furniture work, accuracy and detail is everything.
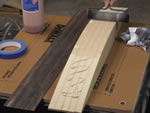
Hendrik is known for his detailed “bonus footage” sections in his instructional DVD courses and this DVD is no exception. The bonus footage is called “Veneering Curved Parts” and it focuses on making and veneering a curved drawer front. Chapter 12 covers how to make the substrate for a curved drawer front, including making a template, making multiple mdf layers for the drawer and then how to glue them together, trim and sand.
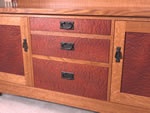
Chapter 13 specifically focuses on cutting and gluing veneer to the curved face of the drawer front, including final trimming. The end result is a beautiful curved drawer front with a fair curve, veneered in ebony.
Always remember that Hendrik’s productions are not just “entertainment” like a woodworking television show. These are lengthy step-by-step woodworking courses in a DVD format. Like it says on the front cover of these productions, this is “Private Woodworking Instruction in a Box”TM. In short, “Dowels, Splines and Mitres” is the most complete DVD course of its kind on this subject matter. You’ll appreciate the depth of the information and the subtle details fleshed out at every opportunity.
In this must-have video, you will learn:
- about the equipment you’ll need to take on simple vacuum veneering projects
- to understand how a vacuum system works
- how to glue large surfaces using nothing but clamps and cauls, as well as the simpler method of using a vacuum system
- how to cut your own thicker veneers on a bandsaw, including jointing the edges, taping the veneers and right through to final glue-up
- how to work with commercial veneers, including cutting with a veneer saw and jointing the edges with a jointer or hand-held router
- how to tape, glue and trim commercial veneers, including removing the veneer tape
- how to veneer edges in addition to faces, using nothing but clamps and cauls
- how to handle wavy and distorted veneers using a veneer softener
- how to make the substrate for a curved drawer front and then veneer the curved surface expertly in a vacuum bag
As always, Hendrik’s DVD courses are not like the more common 30 to 60 minute productions you may have found disappointing in the past. Hendrik takes you through every procedure in real time, ensuring that you fully understand the thinking behind every step. Most woodworking videos and television shows just show you the “gist” of each technique, editing away the finer details and problems that might arise. If you truly wish to elevate your vacuum veneering skills to a professional level, the details are everything.
Normally, Hendrik can only cover all of the high-level details he loves to teach in person, but he has once again succeeded at giving you personal coaching in a DVD format. As a 5-DVD boxed set running for almost 9 1/2 hours, “Simple Vacuum Veneering” will be the leading instructional woodworking DVD in this area. As the trademarked name says, this is “Private Woodworking Instruction in a Box”TM and nothing short of Hendrik’s in-shop seminars and courses even comes close.
Hendrik decided that “Simple Vacuum Veneering” would be his last instalment in this 20 title DVD series. When he released his first production, “Jointer and Planer Secrets”, in 2007, he said it was the first in what he hoped would become a DVD series totalling perhaps as many as 10 to 12 titles. After 11 years of production time and 20 titles in total, Hendrik decided that it was time to draw the series to an end. If you were to watch all 20 productions back to back, it would take you more than four 40-hour work weeks! So this DVD series, as a whole, is an intense and comprehensive woodworking program that will take even a relative beginner to a very high level of proficiency.
Let us know how this DVD series has helped you and remember that Hendrik also provides advice by phone and email should you need further assistance with your projects at home. Just send an email and we’ll explain how Hendrik’s telephone/email consultation service works and the fees involved. Hendrik can trouble shoot your machinery or tool issues, review your plans and designs, give joinery suggestions and so on. And don’t forget that you can book a course in Hendrik’s workshop too, or even have him travel to your workshop to help fine tune your equipment. Just shoot us an email to inquire about the options.
To order your DVD today, click below.

Safety Discussion
Chapter 1
Required Equipment
Chapter 2
Understanding a Vacuum System
Chapter 4
Gluing Large Surfaces
Under Vacuum
Chapter 6
Vacuum Veneering with
Thicker Shop Made Veneer
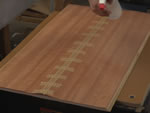
Chapter 8
Final Lay-up in the
Vacuum Bag
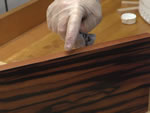
Chapter 10
Veneering Edges
and Faces
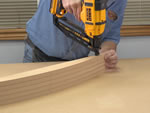
Chapter 12
Making the Substrate
for a Curved Drawer Front
Thoughts on
Woodworking
Part 1
Veneers are Not Inferior
Thoughts on
Woodworking
Part 3
Try New Techniques to
Broaden Your Horizons


